Showing posts with label V Fins. Show all posts

Saturday, December 25, 2010

The Chimera's V-Fin

One of the things I didn't like about the Unicorn is its flimsy folding V-Fin.  I've heard horror stories from early Unicorn owners about how easily it can break if the kit happens to fall down from a table (that can be attributed to its weak double jointed ankles.).  This weakness however, won;t really matter afterward as you may see in a while.

I've made and customized V-Fins before, so this wasn't really much of a challenge.  I got two large-enough scrap pieces of 1.0mm plaplates, cut/trimmed/shaved them according to the shape I had in mind, taking note of the symmetry, and stuck them on the base of the single Unicorn horn.  I trimmed off the horn up the point shown.


Tuesday, September 21, 2010

The Chimera Borne Part III

 
Elbow Grease. With the pose I was planning I found it difficult if not impossible to position the arms in a sweeping motion because of how the saber stock was placed on the forearms. Much like some of the mods I've done for the Chimera, I was trying to avoid this modification as much as possible (since joints are trickier to modify owing to the fact that they are high stress points, and a poorly done modification can cause more problems than it solves). The OCness won in the end, and I proceeded in hacking lower elbow joint in two to turn the forearm 90 degrees so that the saber stock is behind the arm.

Much like the Knee modification, this one required a little bit of foresight to determine the maximum area I needed to cut to maintain the joint's overall integrity. I sawed the joint portion down 1mm below the base using the slide lock of the ABS frame as a depth guide.

Posted Image

The resulting parts are rebuilt over one another through a series of overlapping pieces of cut plaplates shaped to fit the resulting crevices. The plaplates provided enough hold area, fitting snugly within the modified part that it holds even without cementing the parts together yet.

Posted Image

Posted Image

Test fit (after only 5 hours of curing).

Posted Image

Posted Image


I've also thickened the collar further with additional shaped plaplates to compliment the layered armor look as well as enhance the overall balance of the shoulders.

Posted Image

Sunday, September 12, 2010

The Chimera Borne

I decided to convert my "Tutorial in Progress" Unicorn project (otherwise known as "The Itch") into my BAKWC entry this November.

The Chimera is a mythological creature that Has the head of a Lion, the body of a Goat and the tail of a Dragon/Serpent, and is sometimes depicted by artists as having 3 heads (Lion, Goat and Dragon) and wings like that of a bat or dragon. I chose the Chimera more for its mythological meaning rather than the visual, though I might take a few elements of the mythos into the build

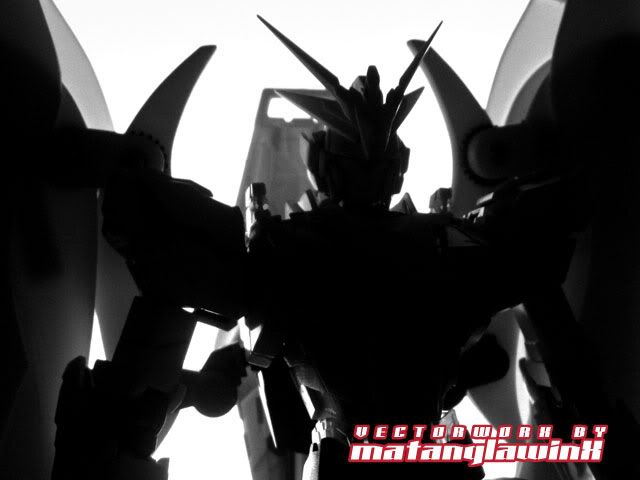
I've had additional modifications made on the Vfin assembly to make it stable and "thicker" on the forehead. The modifications have a secondary purpose.

Anyways, the flaws of the Unicorn continue to reveal themselves the further I dwell into the project. For an MG, it's quite strange that the Unicorn does not have crystal eye (the NG RF Astray had one, and so did the older 1/100 HG Wing mechas). The eyes are cut from the H-runner which is made of ABS, and thus prevent any "easy" LED modifications to be made. I wasn't planning on using the Destroy mode's face anyways so it wasn't much of an issue. With that I opted to give the Chimera a monoeye LED.


The modification is rather a simple one. I used a 1X2 surface mount LED, this one had rather small contact points that I crimped a little to be able to mount the 0.5mm koto springs I used for contact points.

I wanted a Red Monoeye, but the only color available with that size is green, so I cut a piece of transparent red runner, shaped it to fit the internal mask assembly and glued it directly over the LED. The resulting color was a bright orange, so I hand painted it with several coats Tamiya Clear Red (with 30 minutes of drying time in between for maximum adherence) and top coated it with Semco clear acrylic.

The result is actually very favorable. Will fix the light leaks, of course, as soon as I start painting.


-----------

Also, I missed my HLJ/Tomopop Prize delivery yesterday.  It was a Saturday after all.  The Delivery guy left the receipt with my neighbor who gave it to me this morning.  Will be getting it hopeful on Monday.

Sunday, August 22, 2010

More Itchy and Scratchy...


Like I mentioned previously, I cut the top part of the hind leg armor fins and reattached them "flayed out" to allow the free movement of the knee joint.

Posted Image

Posted Image


The Unicorn now kneels more naturally, with the addition of the waist articulation and extension.

Posted Image

Posted Image


With the waist comes the neck. I was trying to avoid having to extend the Unicorn's neck (to no avail), mainly because it's significantly smaller than the Sinanju's, and as i discovered later, had not much leeway for cement hold with a core extension even after a full day's curing (letting it cure for longer than that wouldn't have made any difference because the PS core simply had too little to hold onto the ABS base).

The solution: I shaved a V-shaped cut that tapers towards the plaplate sandwich extension (a total of 2mm thick). I then cemented a piece of plaplate of the same shape as the tapered cut. The taper helps hold the PS extension to the ABS along with that of the core. I also extended the neck casing with small pieces of shaped 0.5mm plaplates.

Posted Image


I used the single Unicorn horn as the base for a smaller, simpler, custom Vfin (which I may or may not detail later).

Posted Image


I've also lengthened the part that locks the back of the Unicorn in Destroy mode. It now serves as an articulation lock. Along with that, I've shortened the middle part of the waist that hampers waist rotation. The waist can actually rotate more than 90 degrees, similar to the improved OVA/HD version.

Posted Image


Strike a pose...

Posted Image

Sunday, July 11, 2010

Angelus Rising Part III: Of Horns and Wings


The Angelus Horn.  Like in most kits, the V-fins and horns are often the most easiest to modify or customize.  These are identifiers of those MS designs that sport them, and is most variable in protagonist machines.  The Sinanju's stock horn is very basic and is similar to the "stabilizer fin" of most Zakus and seem out of place in a slew of curvy and massive armor plates.

Scratchbuilding master Julius "Juju" Lim built a whole Sinanju using an MG Saz as a base which was also featured later on in an Issue of Dengeki.  I kinda like how he remodeled the Sinanju's horn and made it look organic.


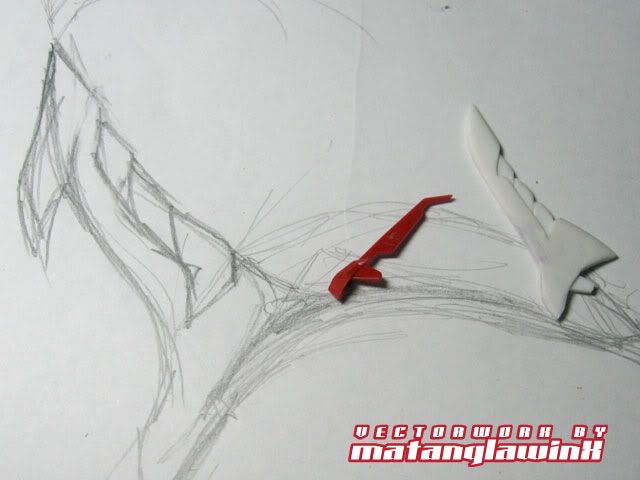
But, rather than copy his redesign, I opted to design mine own that follows the Angelic theme I had in mind, well, sort of.  I usually start with a sketch, and with trial and error prototyping, arrived at this semi-final shape.


Sunday, April 11, 2010

Project Codename: Scarlet JinX WIP part I


While rearranging my kits, storing some and displaying others, and contemplating over the pending completion of the Crimson Cherub (the K'Triya, which I can't seem to finish because of painting issues), I stared at one of my favorite kits (next to the Sinanju and Hi-Nu) to ever get without having a second thought about getting it.

The GN-X has been tagged by some modelers/collectors as the next "grunt" MS (to the chagrin of some hardcore UC fans), not necessarily replacing the iconic Zakus in appeal.  The GN-X, or "JinX" as I like to call it (incidentally, that's how it's pronounced or nicknamed it in the English version of 00, so I guess I'm right on the dot), is a very fresh design and came as a surprise when Bandai announced it to be the next MG after the much-debated Ignition Mode MG Exia.


Saturday, April 10, 2010

Custom PG Astray V-Fin and Bust

I didn't like the PG RF Astray's stock V-Fin so I scratch-built one out of the usual pla-plate and beam combo.

[image]


Perfect for the Dragon Ronin/1/60 Bust.


[image] [image] [image] [image]


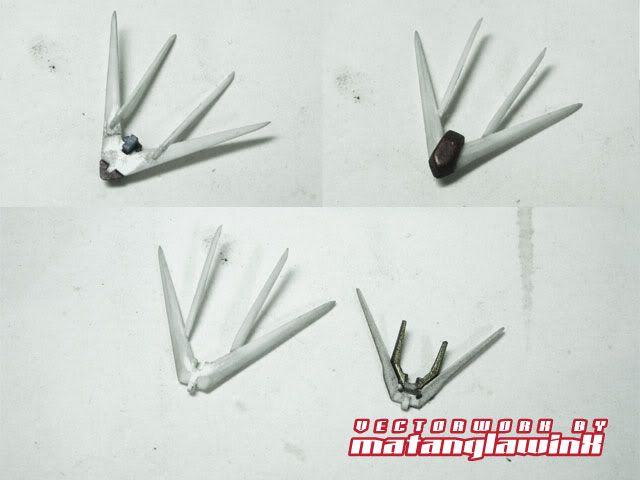
Whne I redesigned the Ronin I made a larger Vfin to match the redesign. The one on the left is the stock, the one on the right is what I made a couple of years ago. I'm itching for a double Vfin, similar to what I did with the Chimera.


Tuesday, April 6, 2010

MG Hi-Nu Custom (scratch-built) V-Fins


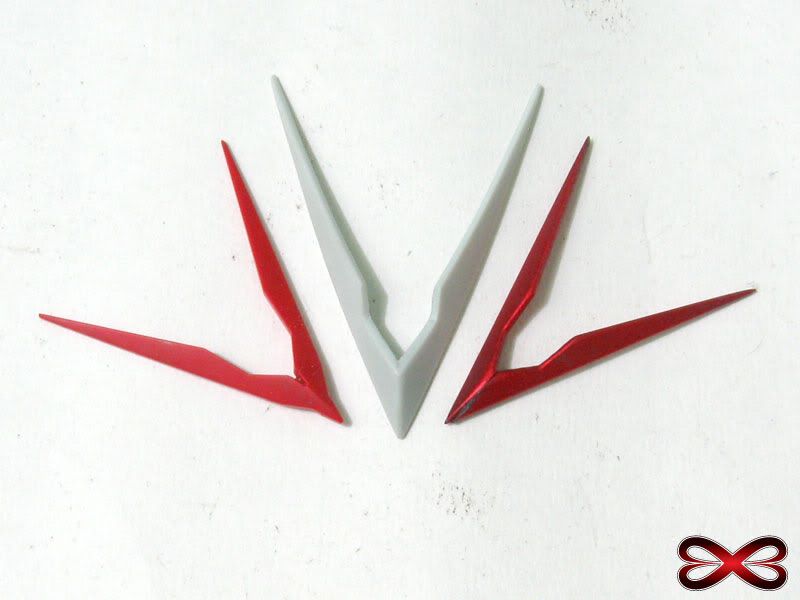
The MG Hi-Nu's V-Fins are thin and a tad sensitive, and it broke during handling without me noticing it.  So, with a knife, cement and 1.0mm plaplates, I crafted for it a new one.


The original V-Fin was made of two separate pieces. I simplified the new one by cementing a couple of smaller plates like so.  Then I used a file to shape the fins sharp and added

I also made the new one slightly bigger.  The overall effect seems to make the Hi-Nu's head bigger than it actually is.


Valleys Of Neptune Apple iPod touch 8 GB (3rd Generation) NEWEST MODELSherlock Holmes [Blu-ray]Soldier of Love

The Newbie Stash

Source This is a collection of specific guides for reference in Gunpla Building and Modeling in General.  • Gunpla™ and Modeling Terminolog...