Showing posts with label OO. Show all posts

Friday, December 17, 2010

Random Modifications

  
PG 00 Waist Modification

I've modified my PG 00's waist to add a little height to the torso. Like always I used 1.0mm plaplates for the armor sheets and beams for support and connectors.

Posted Image

Posted Image

Before
Posted Image

After
Posted Image

Posted Image


I also modified the Shoulder Fin so it won't obstruct the head movement.

Posted Image

Posted Image


NG Astraea Waist Modification:

This is a modification similar to what Erix93 did to his Exia (http://www.ebasenet.com/progress-GundamExia_E2.htm) a few years back. Erix was actually one of the people who inspired me to do modifications. I've extended the modification to give the chest a swivel similar to that of the MG Exia. Trying to figure out where and how to cut the chest frame took longer than it did actually cutting the darned thing, mainly because I had to maintain the critical connective parts that would hold the shoulder joints, but also be able to put a pivot on the chest.

First off, I separated the lower waist from the abdominal section and mounted an aftermarket polycap cup/ball joint assembly. This will give the waist the much needed articulation for a dramatic pose.

Posted Image

Posted Image


Then I did major surgery to separate the chest parts into manageable sections so I can add the swivel/pivot on the chest. I used an 8mm tube and 5mm round beam for the swivel mechanism, then plaplates to secure and reinforce the sections.

Posted Image

Here is the modified chest, in a part-by-part assembly.

Posted Image

Posted Image


Articulation test.

Posted Image

Posted Image 

I've uploaded a descriptive video of the assembly, for those who asked.

Monday, July 19, 2010

"Quick" Fixes...


Of Flaws and Fixes.  No kit is perfect.  Not even the so-called Perfect Grades.  Perfect Grades actually suffer design, stability and structural flaws more than their smaller-scale counterparts mainly because of the amount of parts that come with the kit.  I have two PGs so far, an RF Astray and a 00.  Both are overall good enough PGs design-wise and I am actually impressed by how they are built.

I'm not sure about other PGs, but these two actually share the same basic flaw of the removability of the armor.  Some of the armor parts easily come off even with normal handling.  What's funny is, when the PG 00 came out, it was advised that one should purchase a second kit if one wanted to assemble it with the clear parts.  That's nothing more but a sales ploy because armor parts do come off easily, and this was the reason why I had to do this fix to begin with.

The problem lies within the connective sections of the parts, some of which are either too short or too thin.  Both the NG and PG Astray have this flaw, specifically at the V-fin's base and thus making the connection flimsy.  The V-Fin comes off rather easily in both cases (I am yet to get an MG RFA), and my PG Astray's forehead base broke off because the base is too darned thin.


This was a fairly easy fix.  Click here for the step by step process.


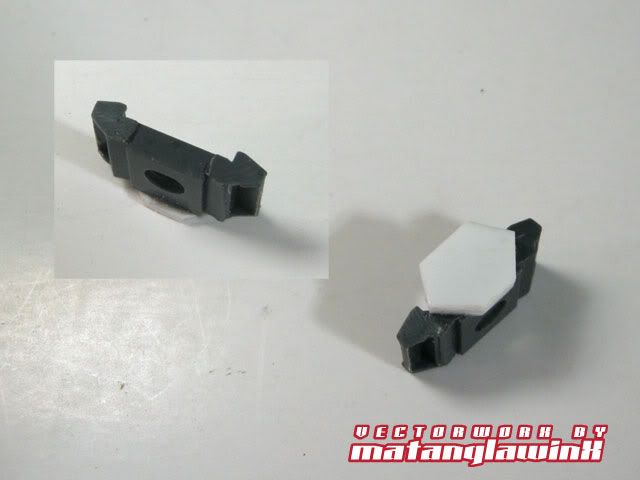
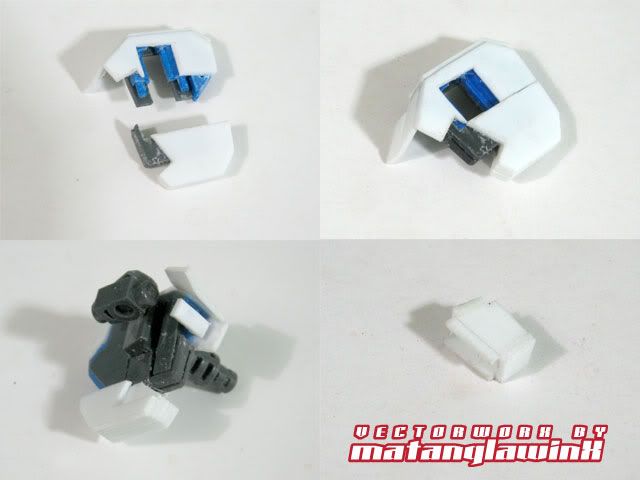
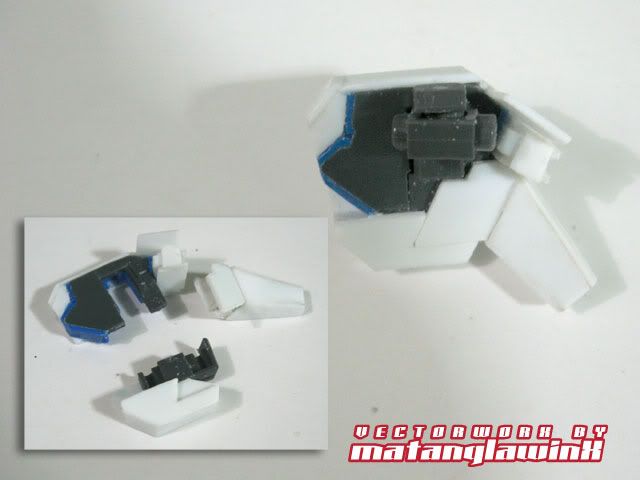
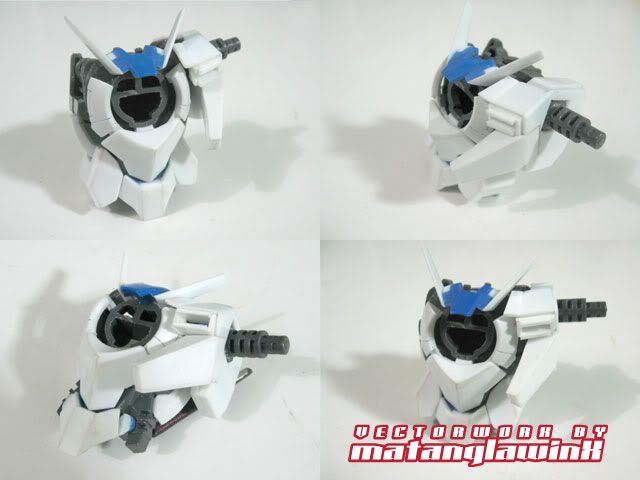
The 00's Chest Armor.  Maybe it's me or maybe it's the flaw in the armor's rather thin connective "lip," but this particular chest part (the right one), broke when I was simply handling the kit (it broke about a couple of months ago, and I only got to repair this a couple of nights ago while taking a break from the Angelus build).  Using the other chest part to align the fix, I cut the remaining part clear off the base, and cemented a set of small plaplate strips and reinforced it further with a 3mm triangular beam.  After waiting for 24 hours for the fix to cure, the OTHER one broke as well while I was test-fitting it to the chest assembly to see if I aligned the part correctly.

This time, I decided not to cut the remainder off the base, but cut it laterally and left those small supports.  I cemented an appropriate-sized piece of plaplate in between the supports, imitating the original structure of the lip.  I progressively saturated the entire fix with extra thin cement to reinforce the part and waited another 24 hours before test-fitting it again.


And viola!  As good as new and (almost) fits like a glove.


Thursday, April 29, 2010

Gundam Qan [T] MatX Pseudo Version Part V


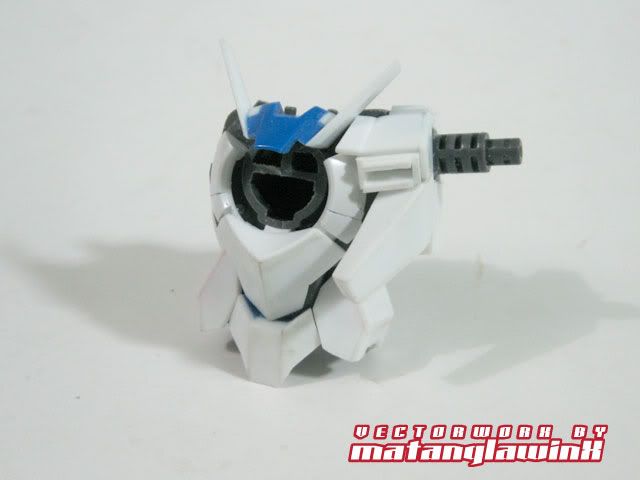
Groin and Waist mod.  I decided to use the Exia's groin and waist assembly mainly because it's more flexible and articulated than the 00's.  As I have mentioned time again, the 00's construction is so poorly designed it's more of a downgrade from the Exia in terms of detail and articulation.  I was quite disappointed with the 00's simplicity after having seen the Exia's close to MG pseudo frame.

I started with the main groin assembly by cutting the top portion off and extending that with plaplates reinforced with small pieces of 3mm beams.  Note that I filed the edge of the plaplates at an angle so it can fit snugly onto the crevice, providing a greater bonding area and thus a stronger bond overall.


I've modified the Exia's waist adapter, trimming all the unnecessary parts and cemented the "nape" mod to it.


Wednesday, April 28, 2010

Gundam Qan [T] MatX Pseudo Version Part IV


Just another "quickie" I managed to squeeze while doing "real" work.

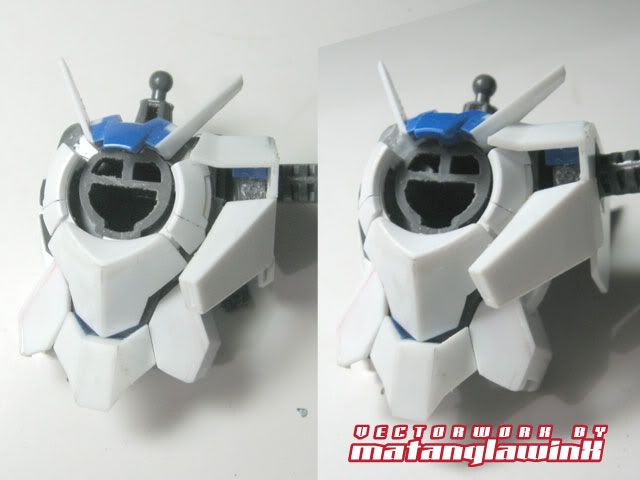
Reconstructed the shoulder mounts with the usual plaplate mods, and the tricky part of matching the vent size to the mount while still maintaining enough mobility.  I made the vent a bit deeper (or more protruding) just in case I need to trim later or reshape it.


I also gave it my now trademark interlock mods to keep the parts removable for easier painting later on.


Test fit.


Sunday, April 25, 2010

Gundam Qan [T] MatX Pseudo Version Part III


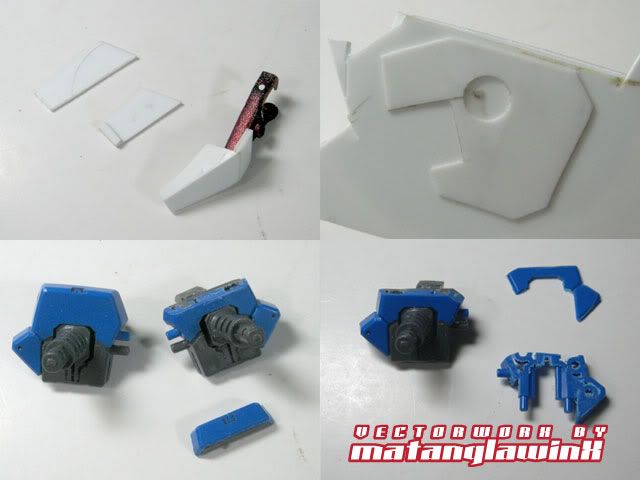
The build is getting trickier.  I have thought of just slapping plaplates on the Exia's stock shoulder mounts, an easy mod, when I realized it will look too thick for comfort, so I had two choices;  build the entire PAIR from scratch, or modify the stock mounts.  Either options would not be easy and have presented me with unique problems.  I opted to go with modifying the (assembled) mounts by cutting about 3mm from the top (bottom left pic), and 1mm laterally (bottom right) to fit the plaplate mod (top right).  I then "simply" made the chest protrusions, estimating just how big they should be.


Test fit.


Gundam Qan [T] MatX Pseudo Version Part II


Quickie update.

Like most of my mods, I kept the parts being removable by exploiting the original connective pegs and sockets. In cases when I had to cut them out, I simply replace them with either a similar-sized beam or piece of plaplate if reusing them is not an option.

Image

I did just that with the round central armor when I mangled into pieces then rebuilt to change/reverse its form. In some cases only a small part of the original armor is left, as in the case of the lower abdominal armor.

Saturday, April 24, 2010

Gundam Qan [T] MatX Pseudo Version


At first glance, the 00 Qan[T] (or Quanta) looked much like a beefed up 00, but later on, I saw a few details that are very much taken from the Exia, like the face and the Upper Torso.

I actually like the first Q (blue and white, no red and with more Exia and some GNX features) that came out before the "official" version was announced. The first one was also seen in a screen shot after the 00 movie was announced, so one can only speculate if that was a prototype or later version that would appear in the movie.

Image

Image


Sunday, April 11, 2010

Project Codename: Scarlet JinX WIP part I


While rearranging my kits, storing some and displaying others, and contemplating over the pending completion of the Crimson Cherub (the K'Triya, which I can't seem to finish because of painting issues), I stared at one of my favorite kits (next to the Sinanju and Hi-Nu) to ever get without having a second thought about getting it.

The GN-X has been tagged by some modelers/collectors as the next "grunt" MS (to the chagrin of some hardcore UC fans), not necessarily replacing the iconic Zakus in appeal.  The GN-X, or "JinX" as I like to call it (incidentally, that's how it's pronounced or nicknamed it in the English version of 00, so I guess I'm right on the dot), is a very fresh design and came as a surprise when Bandai announced it to be the next MG after the much-debated Ignition Mode MG Exia.


The Newbie Stash

Source This is a collection of specific guides for reference in Gunpla Building and Modeling in General.  • Gunpla™ and Modeling Terminolog...