A step beyond scribing. While the JinX percolates, and the Qan[T] in limbo, I've started on a new project that involves more of my trademark functional modifications, and this time, engraving on plastic. I've chosen an angelic/demonic/gothic theme for this build (hence the title), and has so far tested my patience and dexterity more than any of my previous builds.
This build has been more than a year in the making. After that initial concept I did a year ago, I basically scrapped the idea and went on doing other stuff. Until now.
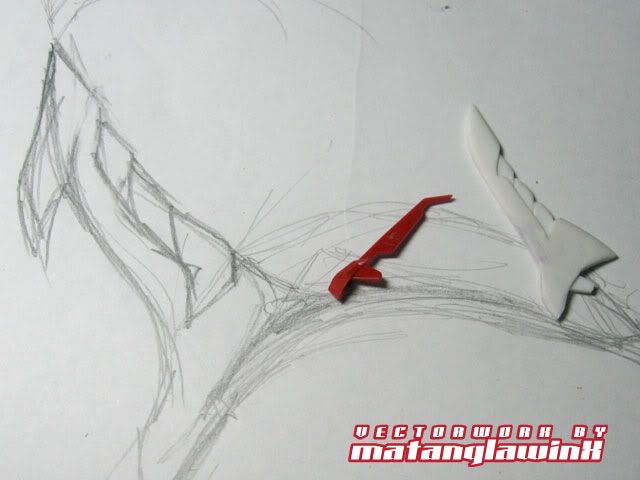
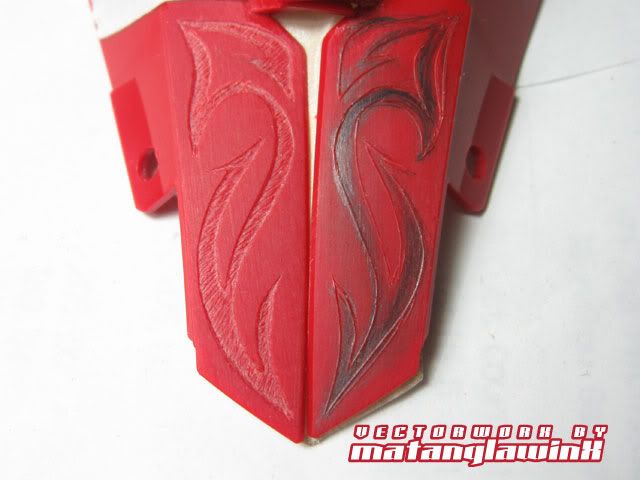
Anyways, here's a sneak peak. I penciled out the design DIRECTLY on the plastic, lightly sanded so the graphite has something to bite into. I then used a knife to score the plastic, then deepened the grooves with a needlepoint bit mounted on my pin vise. I used my rotary tool and the needlepoint engraver bit to remove material to achieve what is illustrated below.
I then went back to my other needlepoint and engraved the streaks, then sanded the surface to make the engraving stand out.
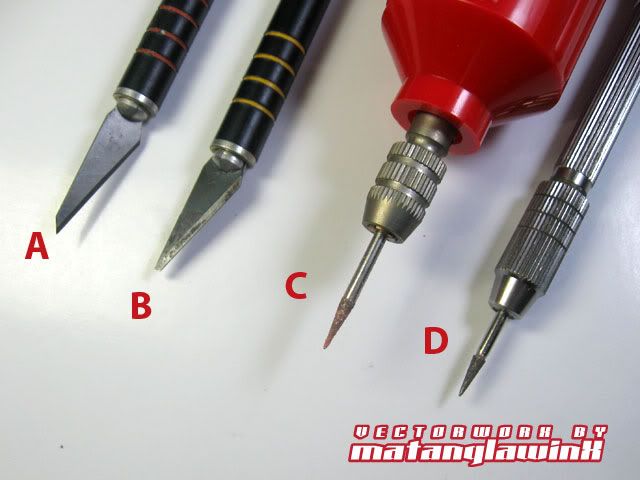
Tools of the Trade. To execute this "painful" process, you'll need:
A] Sharp knife blade; for smooth gliding scoring on bare plastic.
B] Blunt knife blade; for deepening the scores on the plastic (I have had this blade for over a year).
C] Engraving needle bit mounted on a Rotary tool. This helps speed up the engraving process.
D] Engraving bit mounted on a pin vise, for engraving the "african tribe scar tattoo" texture.
The Revelation this weekend.