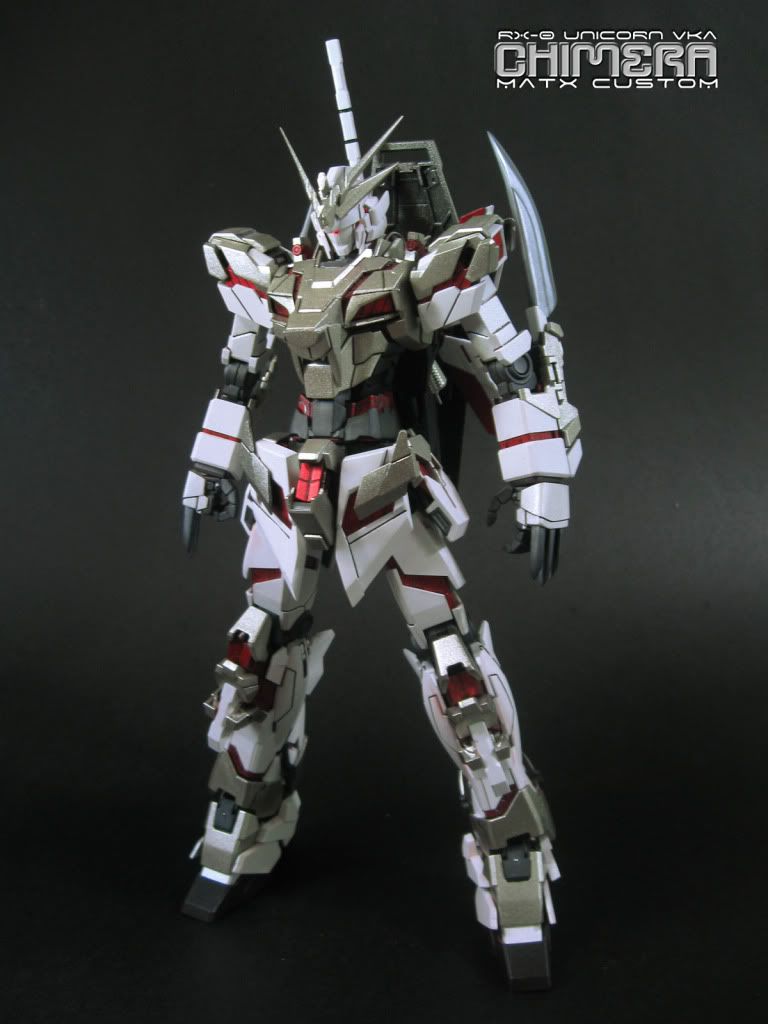
Overview of initial modifications done:
1) Neck lengthened. Cap/cone is cut, reversed and swept back.
2) Collars are cut from the front and back piece, then cemented together to remove the seam. The Chest piece is cut out on certain sections to reveal the inner frame.
3) Shoulder armor is cut to reveal inner frame. The top part is cut from the spherical part, then cemented together, then cut into two sections for easier insertion. The circular parts are also cut away to give the section more depth, revealing the inner frame as well.
4) The abdominal section is lengthened by 12mm. The peg on the base of the waist is cut, then lengthened at the core with 5mm round beam and reinforced with beams.
5) The wrist is lengthened by 5mm to compensate for the abdomen's added length. This one is tricky because the wrist joint is made of two very small pieces, with almost no leeway for cutting and lengthening.
6) The Thighs and Lower legs are also lengthened by 20mm each. These are also tricky because of how the parts are designed. Cutting them is relatively easy, lengthening them is a bit difficult, especially since the cement takes time to "melt" the ABS plastic of the frame.
7) The back skirt armor is cut in the middle, while the inner frame's inner shape is cut around that section then reversed. The peg that the skirt attaches to is also lengthened significantly, and an adapter was made to connect the now separated back skirts.


The Shoulder Armor. I challenged myself with this one by cutting the unneeded parts (the ones that look like a pi) as cleanly as possible, because at the time, I wanted to be sure I have them intact just in case I'll be using them for something else later on.

The Main Body Armor. This is more cosmetic modifications, just to show parts of the inner frame. The pencil marks are planned panel lines and/or plaplate detailing. The functional modification in this are the collars, mainly for seamline removal.


The Lengthened Abdomen. The stock part came in two pieces, which sandwiched a double-end polycap that connects to the chest and waist. This is barely visible when assembled. I cemented the parts together, then drilled 2.8mm~ holes on the "corners" of the completed part, enlarging the holes enough to fit 3mm round beams. These beams extend all the way down to an extension base made from 2 pieces of 1.0mm HIPS, sandwiched together to firmly hold the beam posts. I then slowly bent a 10mm strip of 1.0mm HIPS, the wrapped it around the posts, making sure that the ends meet exactly on the back part.

The Waist/Groin Assembly. This is a straightforward lengthening, though I did have a few problems with the stability of the waist extension initially since the polycap hugs the peg very tightly, twisting the upper body loosened the modification. So, I reinforced the modification with 3mm square and round beams, with the round ones boring into the base of the waist, saturating it later on with thin cement and letting it cure for 48 hours before attempting another test fit. For the rear skirt peg, it's a simple extension with very little reinforcement needed.

The Rear Skirt. Like I mentioned earlier, I've cut around the mid part of the frame (very tricky if you want to cut it clean), and reversed it so that the detailed part is outside. I'll be lengthening and the skirts and will narrow them down to make the waist look "slimmer" from behind.

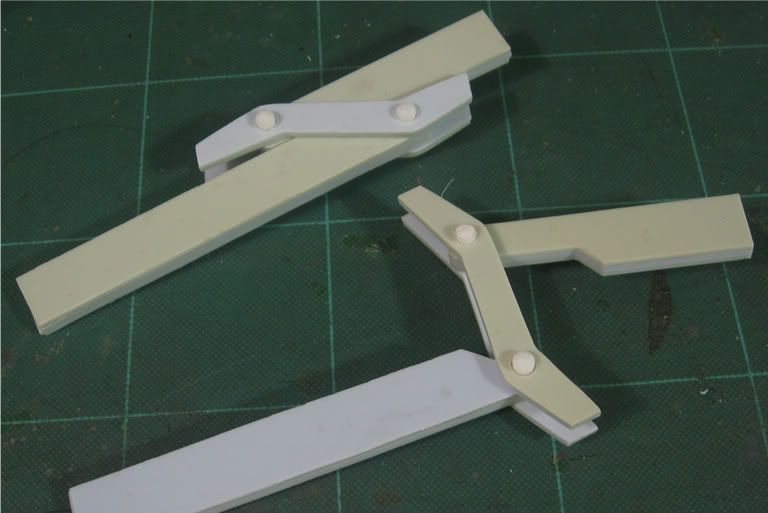
The Leg. Cutting these was the easy part, since I basically cut across the length of the parts. For the thigh (where the polycap is placed, there is very little space left for the lengthening beams to hold on to, so I had to saturate the joins with cement. I then cemented a strip of 1.0mmHIPS on the outside which serves as the lengthening part of the outside of the frame. It gave way even after 24 hours of curing, so I re-reinforced the joins with strips of 0.5mm HIPS, then re-saturating the joins.

TOTAL HEIGHT SO FAR: 30 CM