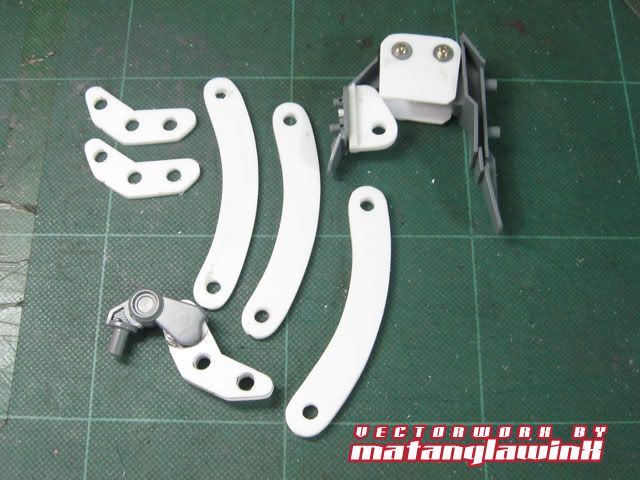
This is second to the last update, with only minor refinements and detailing to do before the painting (sigh). I've hit a stumbling block on how to mount the calf pistons to the Walker's legs, and I almost ended up just cementing it altogether without any functionality whatsoever, thus wasting my initial effort. My OC-ness won out in the end, and I made adapters for the ankle joints similar to those i've done for the Chimera's waist mod. These adapters fit perfectly to the red scrap parts.
Showing posts with label sandwiches. Show all posts
Wednesday, March 2, 2011
The X Walker Part IX
Major update!
This is second to the last update, with only minor refinements and detailing to do before the painting (sigh). I've hit a stumbling block on how to mount the calf pistons to the Walker's legs, and I almost ended up just cementing it altogether without any functionality whatsoever, thus wasting my initial effort. My OC-ness won out in the end, and I made adapters for the ankle joints similar to those i've done for the Chimera's waist mod. These adapters fit perfectly to the red scrap parts.


This is second to the last update, with only minor refinements and detailing to do before the painting (sigh). I've hit a stumbling block on how to mount the calf pistons to the Walker's legs, and I almost ended up just cementing it altogether without any functionality whatsoever, thus wasting my initial effort. My OC-ness won out in the end, and I made adapters for the ankle joints similar to those i've done for the Chimera's waist mod. These adapters fit perfectly to the red scrap parts.
Friday, June 25, 2010
More Plates and Sandwiches (of the Plastic Variety)
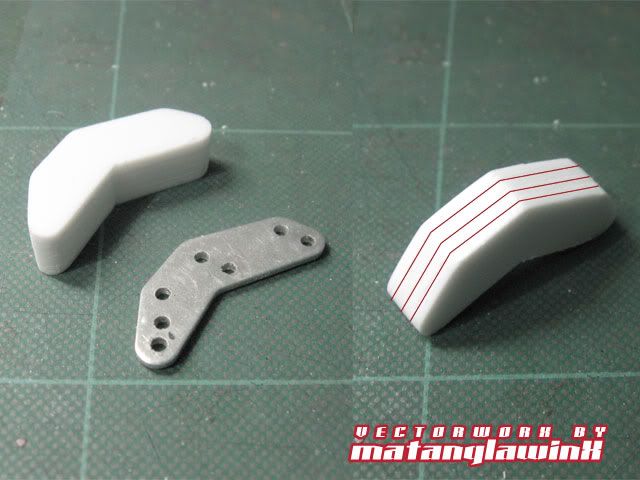
For this particular part, I used one of my Tamiya 4WD option parts (this one being an aluminum bumper extension) as a template. I used double-sided tape to secure it onto 1mm plaplate, then cut it out with scissors and trimmed to shape with my side cutter. I was making 4 two-piece sandwiches so I cemented the first cut shape onto the plaplate, cut that out, secured that with tape, and repeated the process a few more times.
This method allows me to shape, file and drill holes onto the parts making them as similar as possible, with the tape holding the parts together quite firmly and wouldn't really budge at times unless I pry the sections apart with a blunt knife.
And VOILA! By now, the build is "taking shape," and one guy at MAC Online actually guessed what this thingamajig is.
This method allows me to shape, file and drill holes onto the parts making them as similar as possible, with the tape holding the parts together quite firmly and wouldn't really budge at times unless I pry the sections apart with a blunt knife.
And VOILA! By now, the build is "taking shape," and one guy at MAC Online actually guessed what this thingamajig is.
Subscribe to:
Posts (Atom)
The Newbie Stash
Source This is a collection of specific guides for reference in Gunpla Building and Modeling in General. • Gunpla™ and Modeling Terminolog...
-
With the intent of going full AB, dropping if not minimizing my use of Bosny spray cans, I got an Airbrush + compressor set from a friend ...
-
Rather, I had these sent to my school since I was on an off-site training. Bosny Philippines has once again graciously sent me free stuff, ...
-
This tip was brought on courtesy of a question Krescenhaze asked regarding height proportions of Gundams (or any MS design for that matt...