Sunday, June 13, 2010

The Scarlet JinX WIP Part VIII


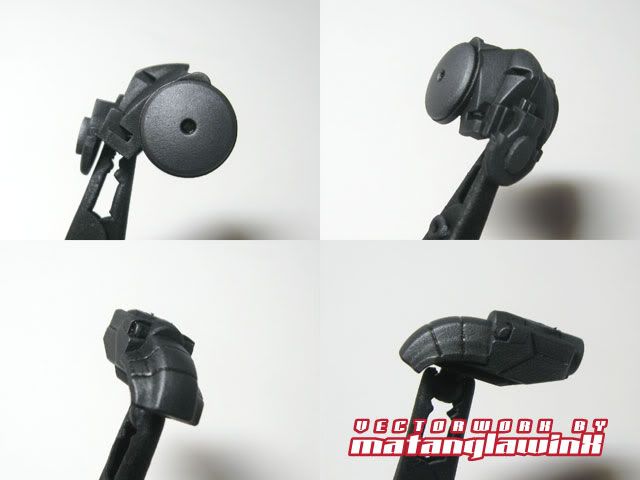
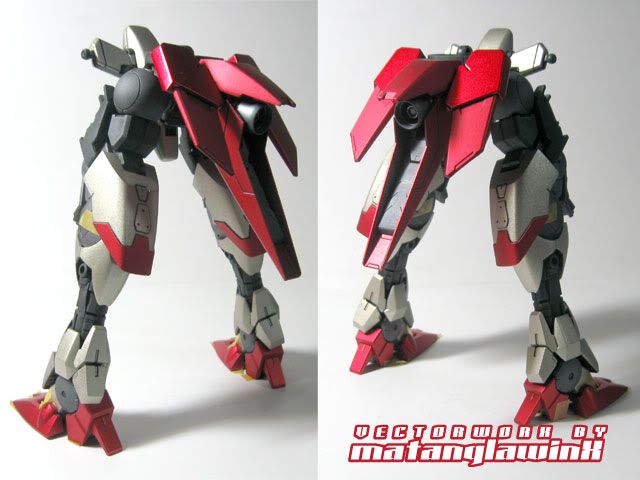
Just a quick update on the painting progress.  I should have given the crotch armor more detail.  Oh well.


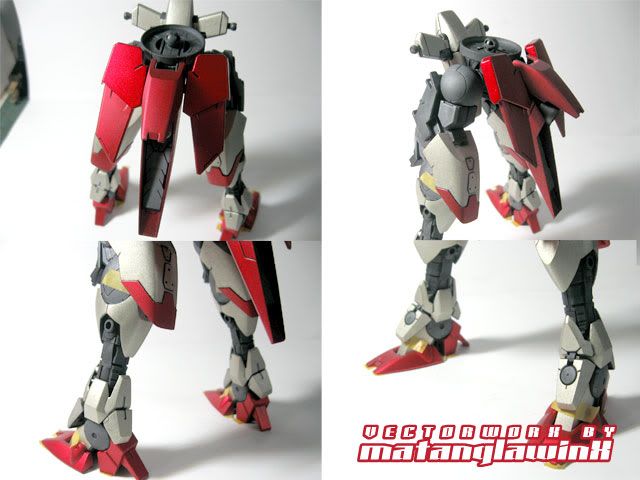
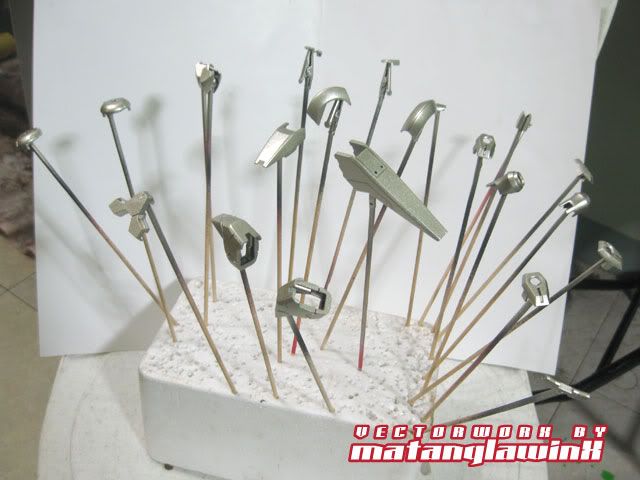
New paint "technique" (which is not really a technique, so to speak).  Instead of making subtle variations in color depth by layering flat black and nickel alloy in different densities, I've painted all the red armor parts with an even coat of nickel alloy, then a light coat of flat clear, then red.  The flat clear seems to aid in making the red adhere faster to the previous coat, prevent overspray and paint lumping in grooves and panel lines.

To create the effect of subtle variations in red, I left some of the parts without flat coat, leaving it more red and provide enough contrast against the muted reds, creating a more subtle two-tone effect (as compared to what I've done with the Hi-Nu where I actually used two different colors to create the two-tone effect).  I've also done this with the shoulder armor (photos of that later on).

Also, I applied masking tape on where parts rub off on each other to prevent premature scratching of the paint as it dries and cures fully.  I have noticed that even non-top-coated finishes of this type of paint are fairly resistant to light scratching during handling when fully cured, but it's best to be sure.


Mech Arts Community at FaceBook

Check out Mech Arts Community at Facebook, the fastest growing International Mecha Community, with members including top international Mecha modelers and BAKUC champions.  I'm lucky to be one of the officers, thanks to my friend BAKUC 2008 Champ DonC23.


For its initial event, MAC Online announces the 1st MAC Gundam ONLINE competition, open to all Gundam modelers 18 and below.


What are you waiting for?  Join us now!


Friday, June 11, 2010

The Scarlet JinX WIP Part VII


A quickie update:


Here's another example of why I love using Flat Black.  Flat black dries semi-smooth and can serve both as primer and base coat (which makes it perfect for frame jobs, pun intended).  This is the rear skirt frame of the Jinx, painted with Flat Black, then later "carbonized" with Kosutte using cotton buds as applicators. 


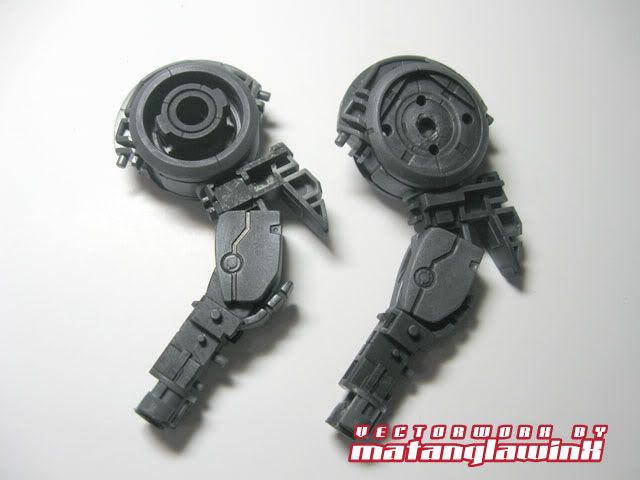
The Arm Frames, assembled, painted and carbonized.


A smorgasbord of armor parts, painted with Nickel-Alloy.  Some will be painted with Honda Red later on.


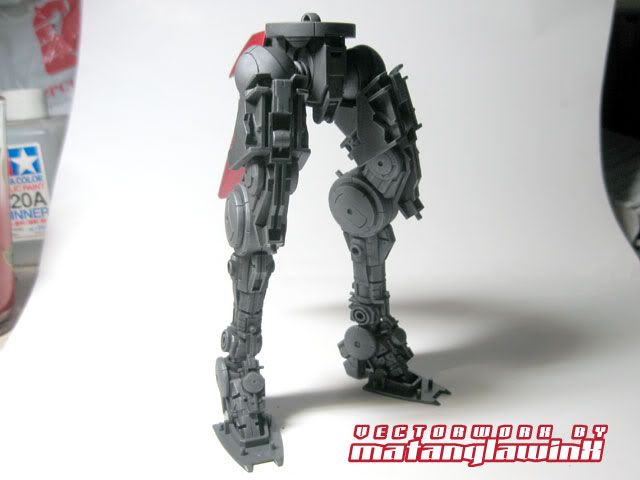
The assembled lower body frame.  I painted and carbonized most of the frame except the pegs and connectors for easier assembly.


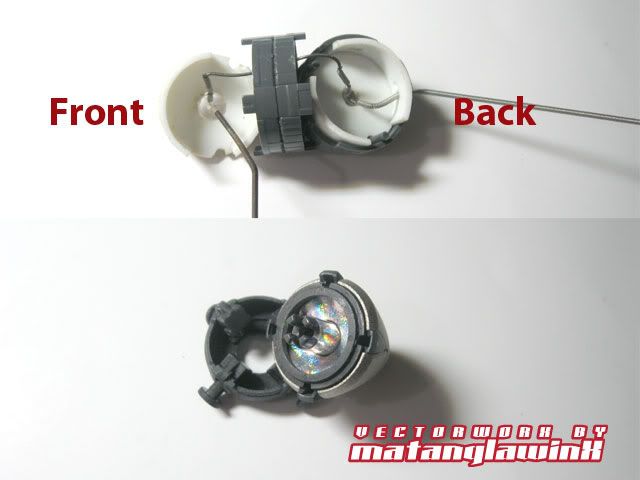
The Modified GN Tau Drive.  Although there was an option to purchase red LED modules, I opted to make my own (it's fairly easy in my case).  I've made casings using plaplates that fit into the stock drive like a charm, making it possible for me to assemble disassemble the drive easily during wiring and testing.  I used A combination of Wave and Koto Springs for a neat solderless wiring.

Unlike the MG Exia's Drive cone which has a chrome-plated core, the GN Tau Drive's core is an unplated core, and its construction blocks of most of the light when assembled, dimming the light in the process.  I got an OC attack during final assembly and figured out a way to make the light shine brighter without modifying too much of the drive.  The solution was simple:  I used a piece of Tamiya Holographic sticker as a reflector on the Drive core and cone assembly.  This increased the brightness by about a hundred per cent.


That's it for now.


Wednesday, June 9, 2010

The Scarlet JinX WIP Part VI


Progress is relatively slowly Gundam-wise mainly because of work and other stuff, but I managed to add more details to the JinX an have actually started painting it.  I planned to paint it in one go instead of my usual "piecemeal" method, but relented since I wanted to see how the paint job will look.

I started with the JinX's head by painting the frame with Flat Black (flat black is perfect as primer AND base coat), then "carbonized" it with Kosutte Gin San, which I believe is highly refined graphite.  The stuff is used mainly to make plastic look like shiny metal and is a tad expensive for such a small amount.  It can make bare plastic shiny provided that the plastic is smooth, but, since it doesn't have anything to bond on, the stuff rubs off rather easily.  Painting the plastic with gloss black, then applying the stuff with cotton and buffing it like crazy can yield mirror-like effects, but, I digress.

Using Kosutte over Flat Black actually yielded a favorable result.  It's not shiny, but it's similar to die-cast carbon steel in look and feel.


Sunday, May 9, 2010

Gundam Qan [T] MatX Pseudo Version Part VII


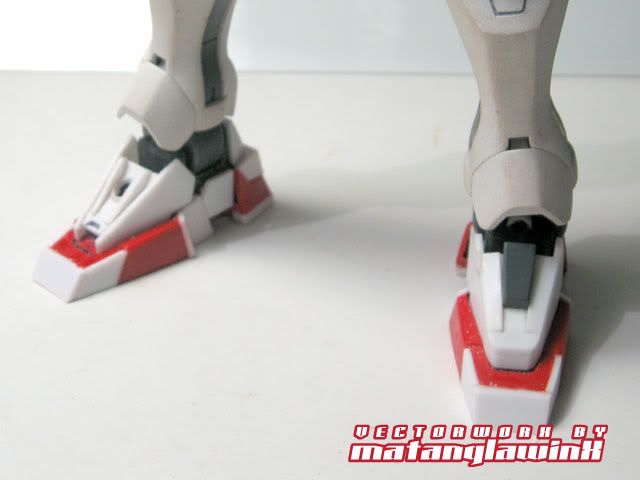
Feet update.  Took a while to finish the other foot, but this one gave me a chance to show how I "Rippered" the Exia's foot to fit the mods and make it similar to the 00's foot.


Well, not really a step by step process, but, you get the idea.


Monday, May 3, 2010

Gundam Qan [T] MatX Pseudo Version Part VI


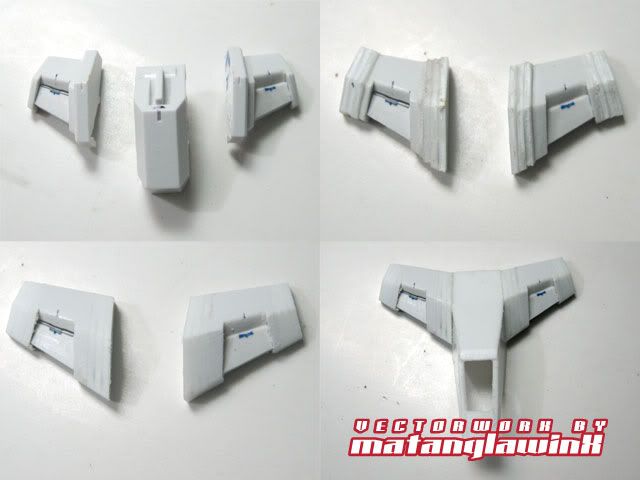
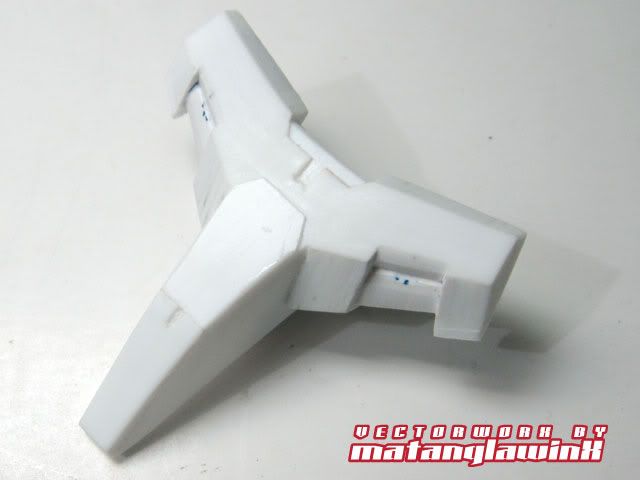
The Rear Skirt Armor mod.  This is a rather another straightforward mod of the rear skirt.  I used the Exia's stock skirt, did some "plastic" surgery so to speak to simulate the Q's skirt based on the line art.  I maintained some features of the Exia's skirt and added a bit of detailing not in the lineart.  I used multiple pieces of plaplates to build up the modification laterally.  This method is easier for extending or bulking up parts that are static or otherwise do not have mobility issues.


The Newbie Stash

Source This is a collection of specific guides for reference in Gunpla Building and Modeling in General.  • Gunpla™ and Modeling Terminolog...