Progress is relatively slowly Gundam-wise mainly because of work and other stuff, but I managed to add more details to the JinX an have actually started painting it. I planned to paint it in one go instead of my usual "piecemeal" method, but relented since I wanted to see how the paint job will look.
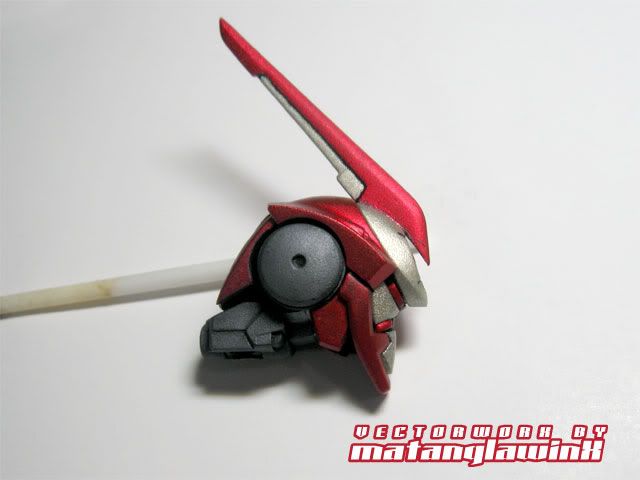
I started with the JinX's head by painting the frame with Flat Black (flat black is perfect as primer AND base coat), then "carbonized" it with Kosutte Gin San, which I believe is highly refined graphite. The stuff is used mainly to make plastic look like shiny metal and is a tad expensive for such a small amount. It can make bare plastic shiny provided that the plastic is smooth, but, since it doesn't have anything to bond on, the stuff rubs off rather easily. Painting the plastic with gloss black, then applying the stuff with cotton and buffing it like crazy can yield mirror-like effects, but, I digress.
Using Kosutte over Flat Black actually yielded a favorable result. It's not shiny, but it's similar to die-cast carbon steel in look and feel.
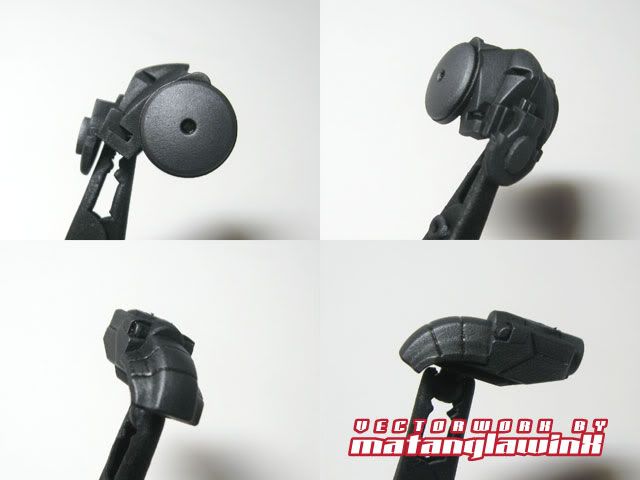
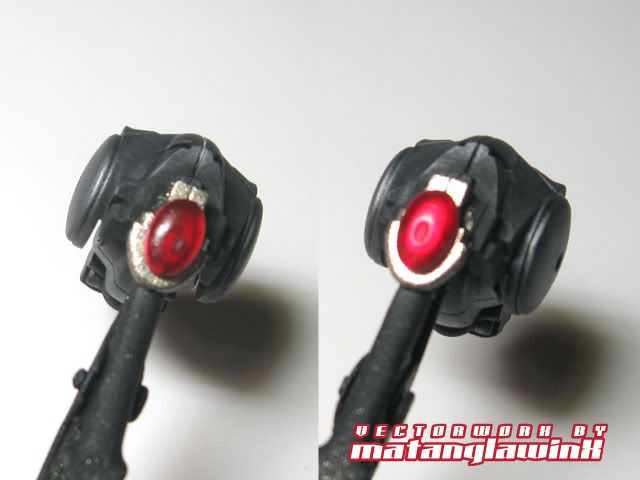
I was going to use a holographic sticker as backing for the head orb, but got a bit frustrated cutting the sticker to size, so, I masked the entire thing and painted the base of the orb with Bosny Nickel-Alloy, which is what I also used for the Ronin. I'll also use that as the overall base color for the JinX's armor.
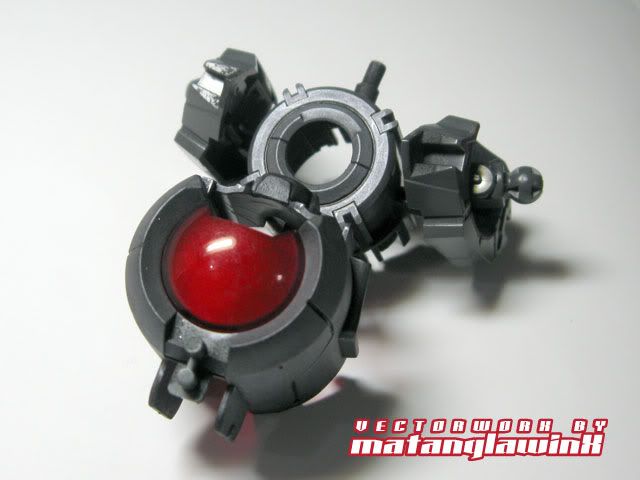
The head and chest orbs are painted with Bosny Honda Red 67, which is the same type I use for most of my reds. It's semi-transparent, and dries with a nice texture. This will be the red layer for the JinX's scarlet armor.
With exception to the exposed section where the arm connects, I did not the shoulder frame, since the shoulder armor will cover most of the part anyways.
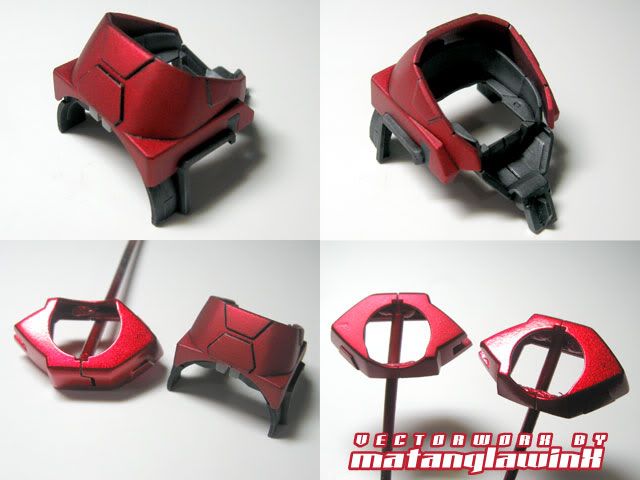
The collar and the shoulder armor, painted in muted metallic red. This is achieved by using Flat Black as primer, Nickel-Alloy, and Honda Red 67, then with Flat Clear to complete the effect. Panel lines were done using my handy 0.3mm Rotring Isograph.
Again, I seem to manage to break something during handling, especially when I've modified a part. This time, I broke the waist connector of the JinX when I was SIMPLY adjusting its position while inserting it to the modified waist armor. I tried a simple cement fix, but realized it won't hold even after 24 hours of cure time have elapsed because of the nature of ABS plastic, which is not as receptive as PS plastic to the "melting ability" of Cement. The section that broke was just too weak to begin with especially since it's a high-stress part.
So, I had to rebuild the broken section with a piece of round beam and strips of plaplate (which is actually PS type). I used a 3mm round beam, inserted it into a snug hole on a 1mm pla-plate sandwiched between 0.3mm plates (this type of sandwich is stronger compared to a bare 1mm plate since the cement helps make the plate sturdy when it cures). I also cut a 4mm tube, inserted the beam to increase the diameter of the beam. I shaved the excess to make it fit snugly on the receptacle. I trimmed that later on to fit the cut I made onto the original base of the part, then reinforced it further with 1.0mm plaplate.
I cut a section of the bottom of waist armor to fit the modification.

A preview of the JinX's head. The "Carbon Steel" frame looks rather nice combined with the muted metallic.
That's it for now.


No comments:
Post a Comment