The Angelus technically is a year in the making, after I've shelved the Impaler X/Devil Wings idea. I've now resurrected it and gave it a new call sign, as well as a new overall concept. Like I mentioned before, this is a thematic, non-Gundam universe build, so I guess I'll have a few more raised eyebrows and condemnation from a few UC hardcores I know.
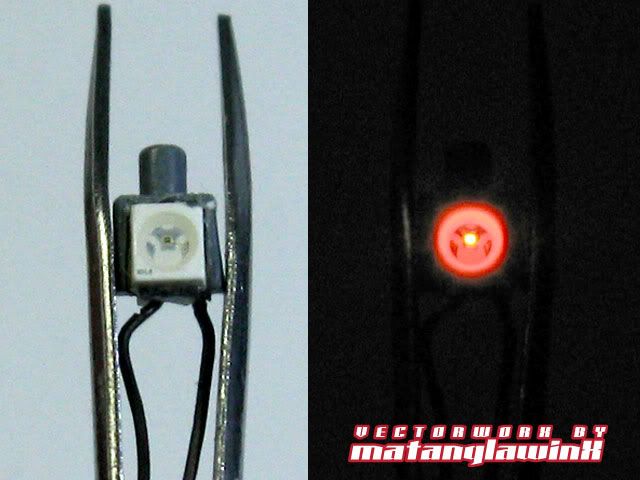
Lighting Up the Angelus' Mono-Eye. LEDs have always been a dilemma for me mainly because it has been difficult to procure small enough SMT/SMC (Surface Mount) LEDs. The smallest I could get so far were the standard 3mm bulbs, then I was able to find a few 1X2mm surface mounts at a cellphone shop at Baclaran, which later on proved a bit difficult to use because of its size (as in, they are almost flat, and their contacts are a tad too small for my taste). Then a fellow modeler tipped me off to a shop near De La Salle Taft called e-Gizmo. The shop sells a lot of nifty electronics stuff, surplus machine and board parts, robotics, and of course, LEDs. Though their LED selection is still basically limited, they have more compared to other shops like Alexan and Deeco.
I got me a few 1X2mm Surface Mount LEDs, but it was these that got my interest.

I've modified the Sinanju's Mono-Eye attachment to fit the LED module by carving out enough material to fit the module.
Test fit.

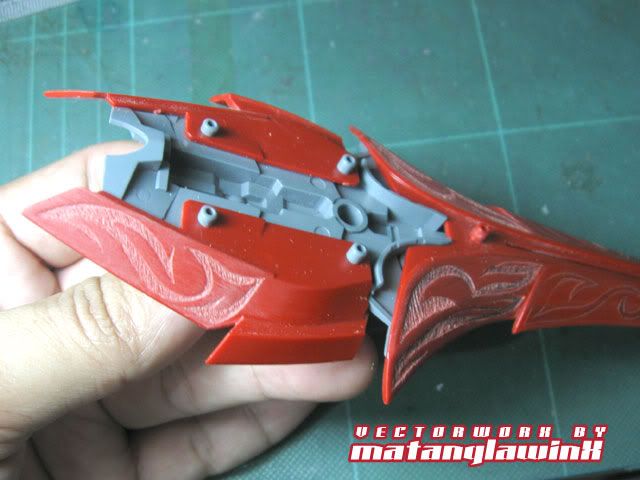
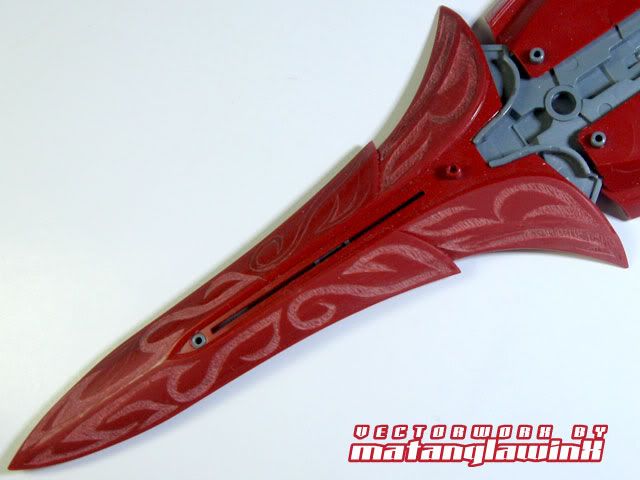
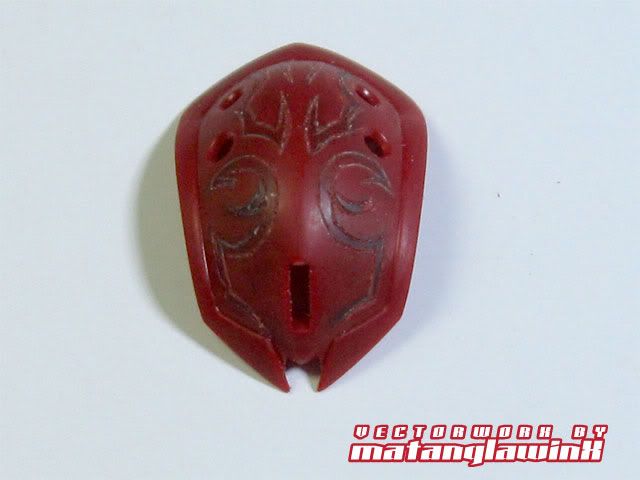
Engraving the "Angelic/Gothic" designs. Like what I posted earlier, I went all out and "scarred" the plastic directly to engrave the gothic patterns I've designed for the Angelus. This is quite difficult to do, and one needs to have much dexterity and patience to pull it off. It would have been indeed easier to cut out the pattern from plaplates, then cemented it onto the plastic, but that can only work on FLAT surfaces. Since most of the Sinanju's armor isn't flat, that option never went into consideration. Besides, I tend to make things hard for me so I can troubleshoot and find out ways to make it easier later on.
Also, the inconsistencies i engraving make the overall design "organic," even when the design is supposed to be symmetrical.
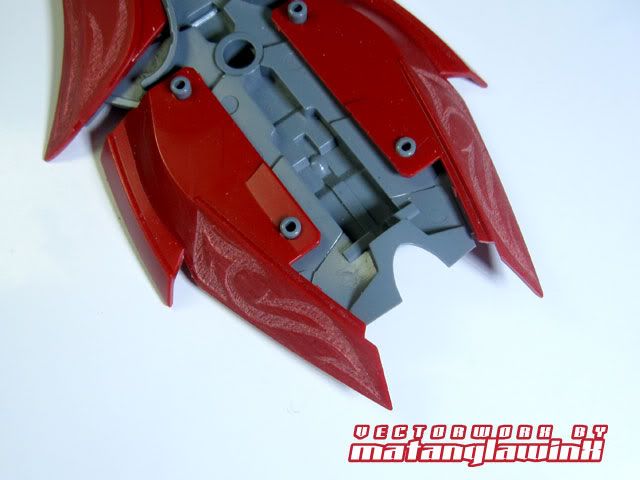

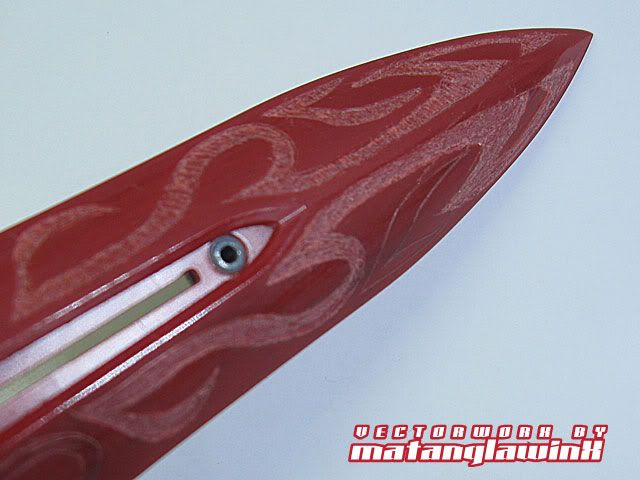
The Sinanu's "cap," with the design scored on.
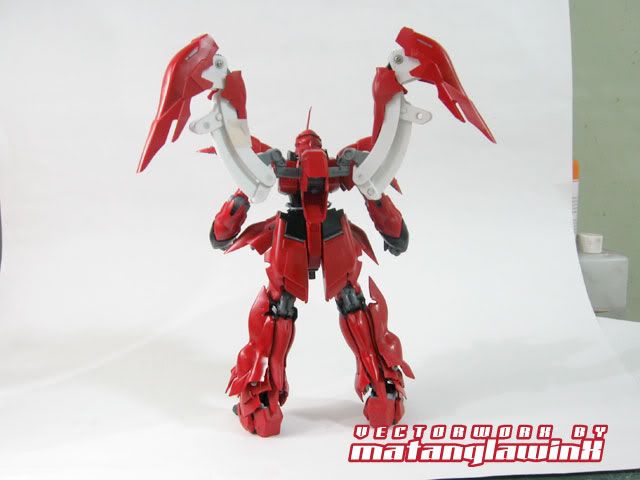
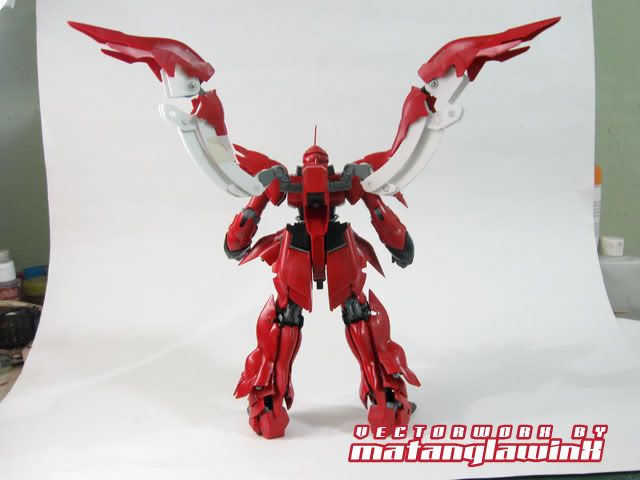
Redesigning the Wings. I've designed the Wings a year ago using a combination of plaplate sandwiches and surplus Tamiya 4Wd parts (I have quite a few from my 4WD collection). The idea and the design looked okay back then, but I abandoned it after realizing several flaws in the overall design, mainly with majority of the joints being secured with screws, and the wingfold mechanism opening "automatically" via springs.
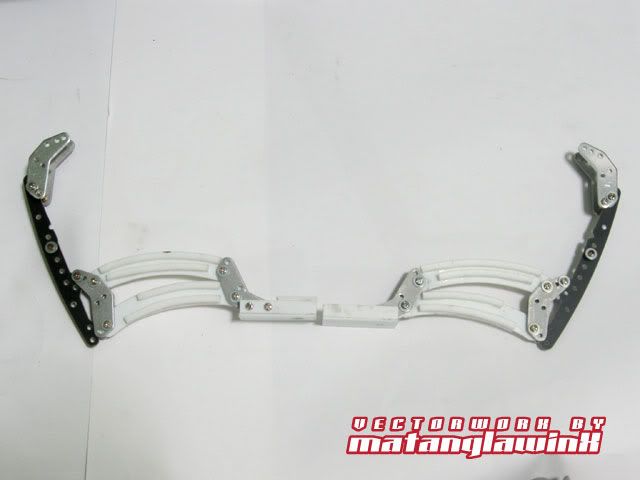
I ended up with a rather flimsy but bulky design that wouldn't even hold its own weight up.

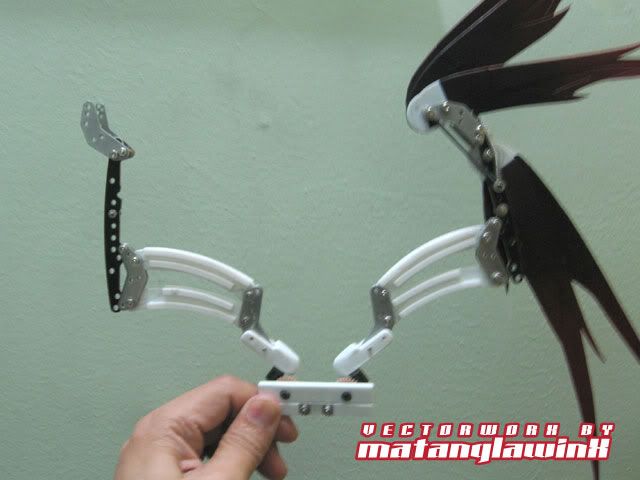

Even though the original design mechanism worked, i would have to hide it with additional armor which will only aggravate the bulking and weight problem.
A year after, I was "enlightened" enough to know what not to do and what to avoid, and came up with a simpler design comprised mainly of plaplate sandwiches. I've used two of four the swivel/peg mechanism from the K'Triya as backpack wing mounts.
Assembled, it should look something like this.

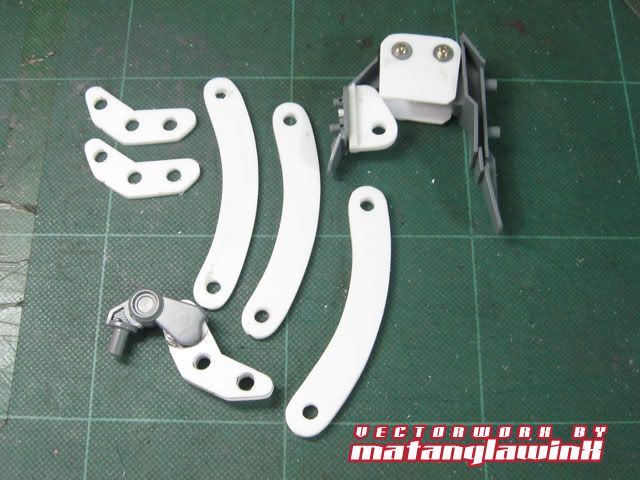
I've modified the Sinanju's backpack for this mechanism. In order for me to fit the new wings, I had to cut out the tip of the wing frame and reshape it a bit to be able to insert the connection module I've built using 2mm beams and small pieces of plaplates. I've also modified the other tip as the main connector to the differential wing mechanism by mounting a plaplate sandwich onto the tip.
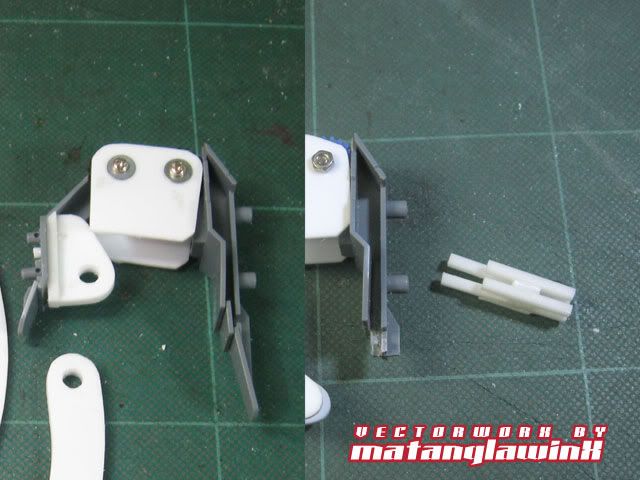
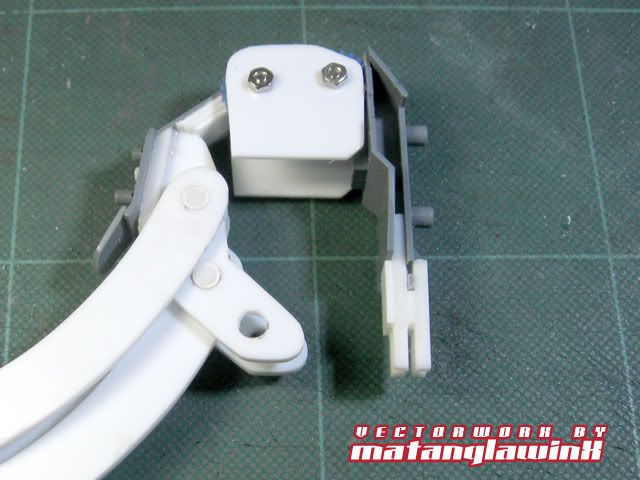
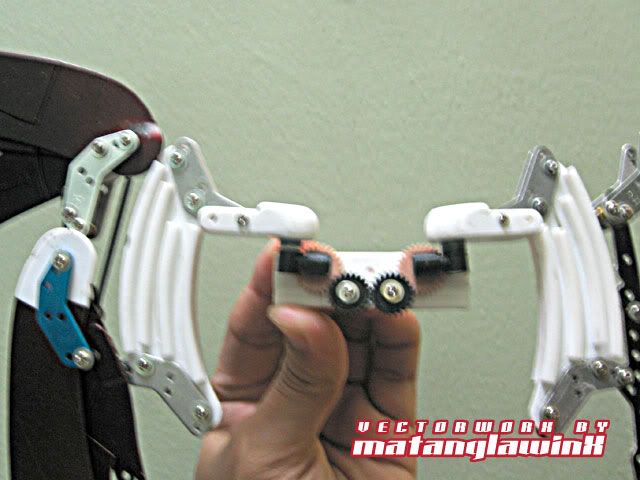
These Gears are Made for Swiveling. I maintained the use of gears mainly for the wingfold mechanism not only for its ability to hold the wing's weight up but also for its differential properties. With the double-gear system, The wings can fold smoothly and provides a three point differential for me to exploit. With the wings mounted, the differential can also act as the levers to enable the wings to "spread" by simply manipulating the tip.

That's it for now...


7 comments:
Wow....hats off on that engraving. I would love to give it shot too. What tool did you use for the engraving?
I am always amaze at how you come up with all these scratched build joints!
I posted a pic of the tools I used one post down...
Thanks!
I like very much youre work. It's very awesome. I also seek me to integrate LED but the problem is : Where I put this ***** battery. Head? CHess?
Where have you put it?
Personally, I always make an external pack integrated into the design of the armor. In the Sinanju's case however, you can probably sacrifice the inner chest by removing half of the cockpit.
mmm Its a good idea. I always sought to integrate the pile into more close to the led.
I wil try in futur model kit :)
Thanks
Chubbs will definitely gets his hands on that drill vice! I need to call him next time when I'm in Singapore...
Post a Comment